
[Spring Security] google OAuth2 spring security 설정
구글 콘솔 설정을 끝냈다.
이제 스프링 설정을 해보겠다.
Spring security 설정
1. build.gradle 설정
dependency 두 개를 추가해줘야한다.
implementation 'org.springframework.boot:spring-boot-starter-security'
implementation 'org.springframework.boot:spring-boot-starter-oauth2-client:3.0.0'
2. application.yml 설정
# google
spring:
  security:
    oauth2:
      client:
        registration:
          google:
            client-id: ***
            client-secret: ***
            redirect-uri: http://localhost:8000/API/login/oauth2/code/google
            scope:
              - email
              - profile
              - openid
이렇게 설정을 하면 되는데 client-id, client-secret은 구글 설정에서 꼭 알고 있어야하는
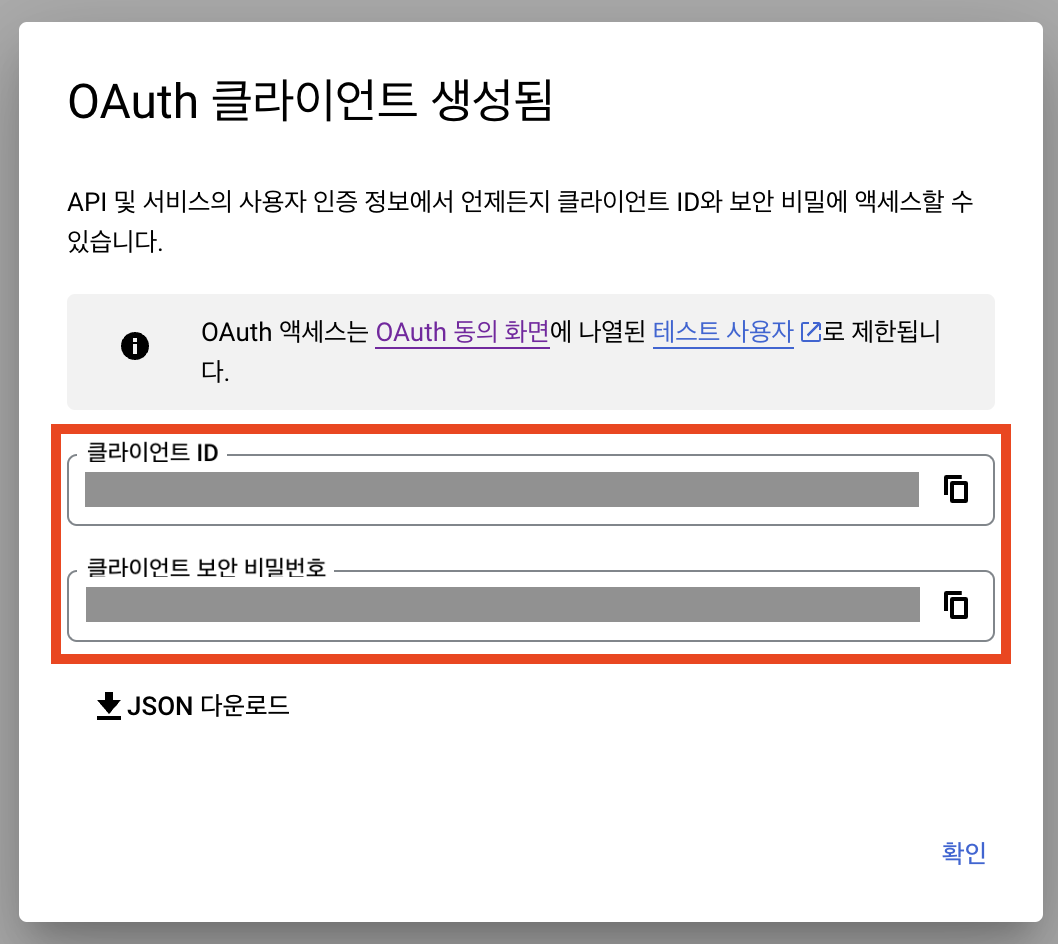
이 것들을 넣으면 된다.
3. API client(Insomnia)로 호출해보기
나는 인섬니아를 쓰기 때문에 인섬니아에서 호출을 해보겠다.

위 사진처럼 적으면 된다.
AUTHORIZATION URL : https://accounts.google.com/o/oauth2/v2/auth
ACCESS TOKEN URL : https://www.googleapis.com/oauth2/v4/token
권한, 접근 토큰 URL들은 위 와 같이 쓰면 된다.
redirect url 은 각자의 포트번호와 주소에 맞게 적으면 된다.
scope는 구글 콘솔 설정에 맞게 email, profile, openid 이 세 개를 적는다.
혹시 모르니 세션을 깨끗하게 지우고

refresh token 버튼을 누르면

이렇게 구글로 로그인하는 창이 뜨게 된다!
4. 브라우저로 호출해보기
인섬니아가 아닌 브라우저로 호출을 하려면 spring 에 bean을 추가해야한다.
import org.springframework.context.annotation.Bean;
import org.springframework.context.annotation.Configuration;
import org.springframework.security.config.Customizer;
import org.springframework.security.config.annotation.web.builders.HttpSecurity;
import org.springframework.security.web.SecurityFilterChain;

@Configuration
public class OAuth2ResourceServerConfiguration {

    @Bean
    public SecurityFilterChain securityFilterChain(HttpSecurity http) throws Exception {

        http.authorizeHttpRequests(requests -> requests.anyRequest().authenticated());

        http.oauth2Login(Customizer.withDefaults());

        // http.oauth2Client(Customizer.withDefaults());

        return http.build();
    }
}
configuration 폴더를 하나 만들어서 위 클래스를 만들면 된다.
그리고 프로젝트를 실행하고 나서

아무 브라우저에 http://localhost:8000/API/ 를 주소창에 검색하면 위 사진과 같은 구글로 로그인하는 창이 뜨게 된다.
url 주소는 각자 다를 것이다. 나는 포트 번호를 8000으로 그리고 API를 추가해서 저렇게 주소로 되어있다.
계정을 선택하고 로그인을 하게 되면

이렇게 화면이 뜰 것이다. 왜냐하면 아직 로그인 후 처리를 하지 않았기 때문이다.
Bean 을 하나 추가하는 코드에서 주석처리 되어있는
` http.oauth2Client(Customizer.withDefaults()); `
이 부분은 서버에서 직접 로그인을 주최하는 것이 아니라 클라이언트가 하도록 던지는 방법이다.
아직 이 방법이 무엇인지는 알지 못한다. 알게 되면 후 게시글을 쓰겠다.
Comments